Batmobile assembly
Now comes the exciting part that you've all been waiting for!
Take two bolts, a screwdriver and the chassis which already has the board, battery and the camera attached to it.

You'll see that there are already spacers on the inside of the headboard.
Turn your Batmobile on the back and put the screws from the inside through the spacer to tighten the headboard.


After you've tightened the headboard, the front side of your Batmobile should look like this:

It's time to take the fire board with red LEDs.

The fire board will be placed at the end of the Batmobile so it looks like the fire is coming from it while driving.
Remove the paper from the sticking pad before placing the board in its place to ensure that nothing falls off.


Now place the fire board in its place:

Connect the fire board to the "LED Fire" port.

Now you can stick the battery to the backside of the board:


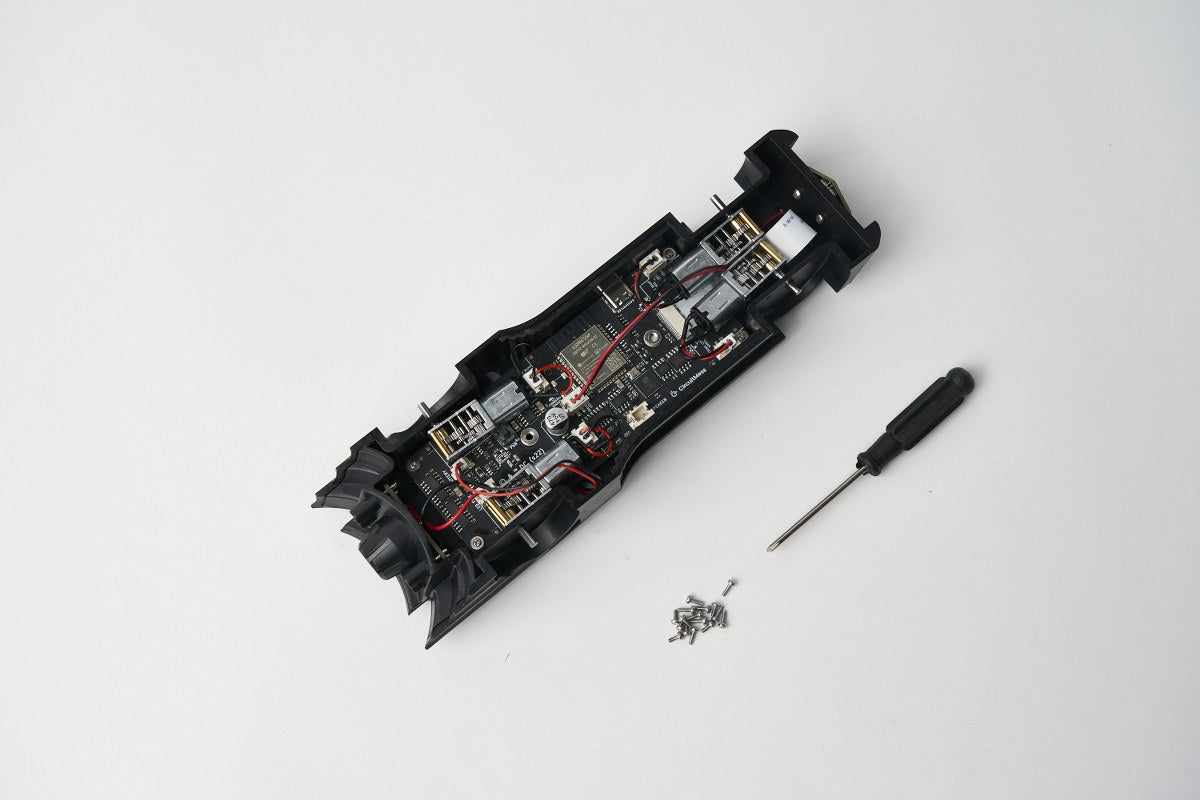
Now take your Batmobile, four screws with a flat head, and a screwdriver.
You’ll have to tighten the PCB to the chassis.
To make the process easier, lift the PCB slightly and insert the screws into the four holes on the PCB's edges.
Just like this:

Put it back down slowly to make sure the screws fit inside the chassis.
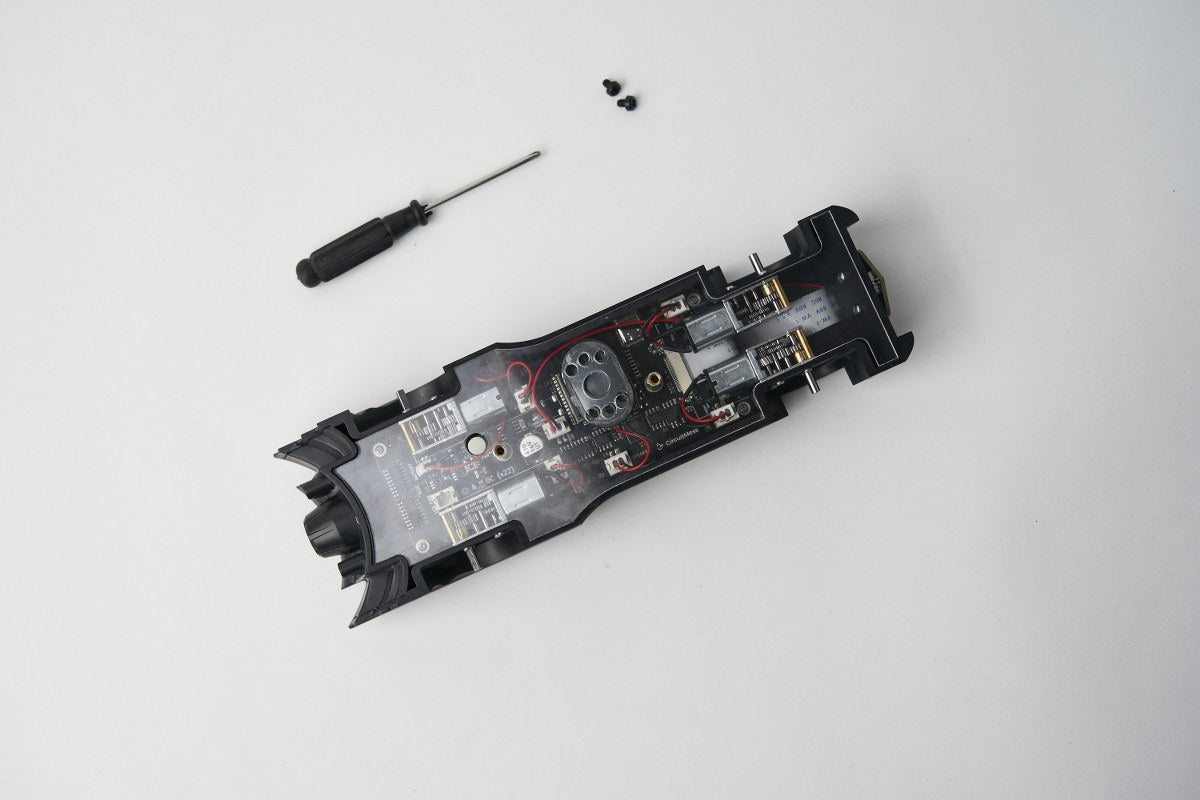
After everything is in place, take the screwdriver and tighten the four bolts as follows:

If all the wires and ribbons are connected and the PCB is tightened, you may proceed.
It's time to give your Batmobile power.
Take the four electro motors:

Each motor will be going from the inside of the wheels.
You'll see one larger, and four smaller holes. The motor's pin is inserted into the large one.


Connect the motor wire to the port below it:


Repeat this step for the remaining motors:

It's time to fasten the motors to the chassis.
Take the screwdriver and 16 smallest bolts.
As previously stated, there are four smaller holes on the side where the wheels will be installed. These smaller bolts will go in there.
The bolts will go from the outside:

Insert the bolts and take the screwdriver.


Your Batmobile should look like this:

Repeat this step for all four motors:

Connect the speaker now.

First, connect it to the speaker port:


Take two golden spacers and the pushbutton cap (please note that your pushbutton can come in black or white).

The golden spacers go into the holes which are placed in the middle of the PCB.
You have to tighten it with your fingers.


Place the button cap on top of the pushbutton now:

Your Batmobile should now look like this:

The only thing left to do is case the Batmobile's bottom so nothing falls out while driving.
You have a long acrylic casing in your kit, and we must first remove the protective layers from it.
Take these components:

and remove the first layer:

Don't forget to peel the other side as well.

The casing should be totally transparent once you finish peeling the layers off.
There are a bunch of holes in the middle of the casing - that's where you'll have to stick the speaker.
Before you do that, there is one small but important step to take - remove the sticker from the speaker.
That's the white paper wrapping around the front of the speaker.

Make sure the casing is on the right side and attach the speaker to it.
Just like this:


Amazing!
Let's start by placing the casing on top of the chassis.
Take the screwdriver and two black bolts.
The bolts will go into the golden spacer we put in the previous step.

Take the screwdriver and tighten it. Repeat this step for the second bolt and your Batmobile should now look like this:

It's time to put the wheels.

Place the wheels on the motor's pins.

Great job!

Your Batmobile has wheels like a real car now.
The final step is to remove the protective sticker from the camera, if you haven't done so already.


Amazing!
You've reached the end of the build guide. Your Batmobile is now fully assembled and ready to go!