Mandatory tools
The Ringo is a kit designed to educate, but it’s far from a toy.
And as such, it requires some real tools.
The equipment and tools required for the assembly are not included in the standard kit.
If you’ve bought the standard kit (no tools included) and don’t have them, now would be a good time to borrow or purchase them. The tools required are essential whenever assembling, fixing or modifying electronic devices and are the tools of the trade for every maker/hardware hacker/modder/electrician.
Many of these are available in a supermarket or a hardware store like Radio Shack, Adafruit, Sparkfun, etc…

All of the tools in the box
- Glasses
- Cutter pliers
- Small screwdriver
- Replacement soldering tips
- Lead-free solder
- Soldering stand
- Sponge
- Soldering iron
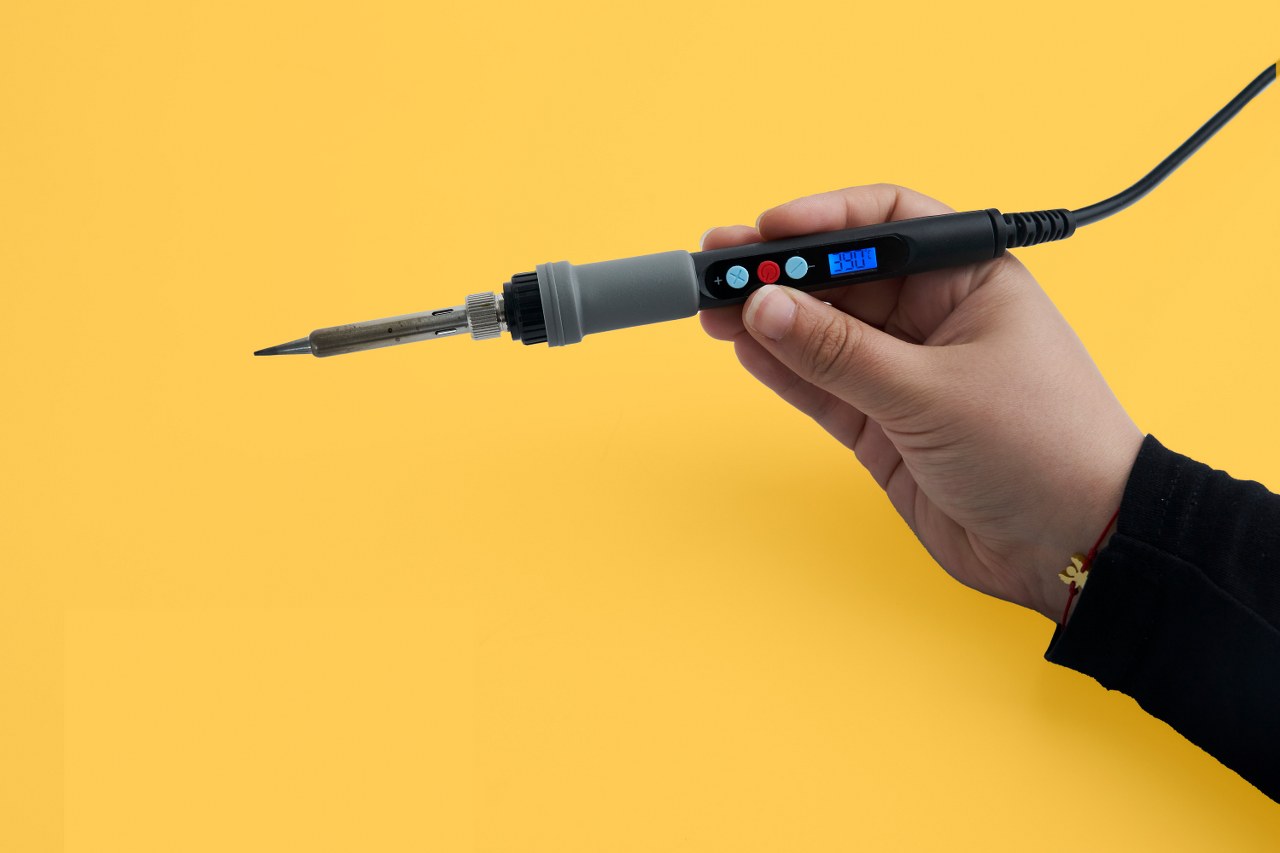
Soldering iron
This is the most important tool in a maker’s arsenal.
For Ringo's assembly, any entry-level soldering iron will suffice.
If you plan to dive into the world of DIY projects, you should consider getting a more expensive one with more features. Many soldering irons with interchangeable tips can be particularly useful when working with much smaller components.
In the next chapter, you'll find the instructions on how to properly solder and take care of your soldering iron.

You’ll also need a soldering iron stand and a small reel of rosin-cored solder.
Soldering sponge
Make sure your soldering toolkit has a sponge that can be used for wiping your soldering iron clean. Make sure that the sponge isn't dripping wet or bone dry - it should be damp.
Diagonal cutter pliers
We prefer this type shown in the picture (Plato, model 170), but any other type will do.

Standard cross screwdriver
You’ll need this cross (Phillips) screwdriver to assemble the casing.
A standard 2.0mm cross screwdriver should do the trick.

Step 1 - plug it in
Put the soldering iron on a soldering iron stand, and plug it into a power outlet.

Step 2 - Select the right temperature
The temperature will set to 390 degrees Celsius by turning the soldering iron on.
Step 3 - Don't forget to turn it off when you're finished
We’ll tell you when you’re done with soldering, and you'll unplug the iron from the power outlet to turn it off.
Please use the metal stand every time you are not using the soldering iron to make sure you don't burn the surface or the circuit board.

Make sure to not touch the soldering iron tip for at least five minutes after you have turned it off.